
CAT EYE LASH STYLING: STOP DROOPING WITH PERFECT MAPPING
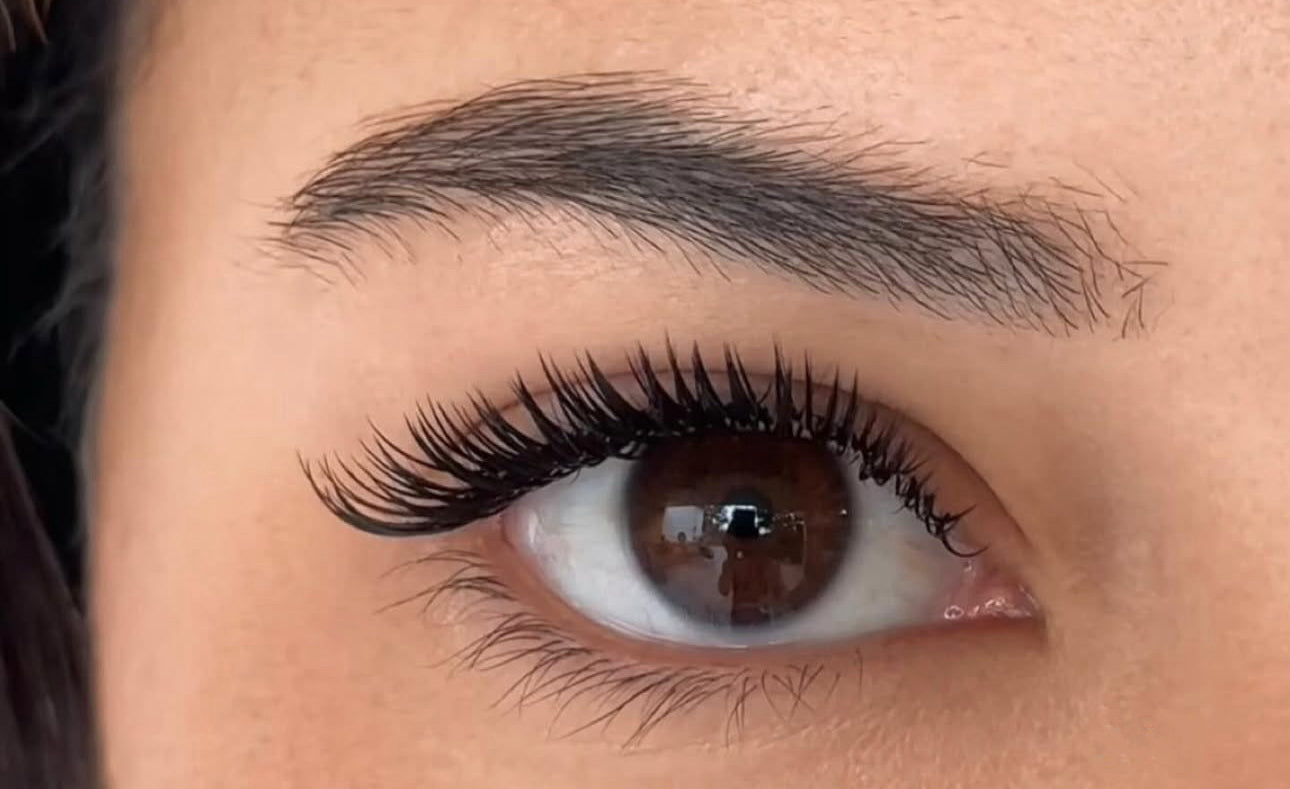
The cat eye effect is a timeless, sultry look that elongates the eyes and adds instant glamour. Mastering this style is a must for lash artists, but achieving that sharp, lifted finish without eyelash extensions drooping can sometimes be tricky. Let’s dive into the art of mapping for cat eye, lash styling tips for cat eye, and common pitfalls to avoid, ensuring your clients leave with a fierce and flattering cat eye that lasts.

UNDERSTANDING THE LOOK & COMMON CHALLENGES
Strategic lash extension placement is used to create a lifted, winged-out, cat eye. Starting with your shortest lengths used in the inner corner, transitioning to the longest lengths once hitting the outer corner of the iris, and then dropping down the length at the outer corners. When done right, it mimics the allure of winged eyeliner without drooping.
Why Does Drooping Happen? Preventing eyelash extensions from drooping starts with understanding their causes:
-
Outer lashes that are too long or heavy for the natural lash to support.
Since outer-corner lashes are inherently shorter and weaker, always transition extensions to progressively shorter lengths toward the outer corner to avoid excess weight. Reduce weight further by selecting thinner lash diameters or lightweight fans, preserving both comfort and longevity. Some artists enhance this approach by leaving the outermost 1-2 natural lashes extension-free (when appropriate for the client’s lash density), creating a graceful taper that respects the natural lash structure. -
Leaving too large of a gap from the eyelid to the base of the extension, causing excess weight towards the end of the natural lash.
Precision in placement is critical for both safety and longevity. Maintain a consistent 1mm buffer between the extension base and eyelid to prevent accidental adhesion, while avoiding excessive spacing that shifts weight towards the tip. Use Wünderstrips to gently lift the lid for clear visibility of the lash base during application. Overly large gaps create stress on natural lashes, causing premature drooping and grow-out. -
Wrong choice of lash curl.
Curls weaker than the client’s natural lash angle (for example, using a J or B curl on downward-growing lashes) fail to provide adequate upward tension, allowing gravity to pull extensions downward. For cat eye requiring a gradual lift, transition to a stronger curl such as M curl or L curl as you approach the outer corners of the eyes. These curls align with the outer lashes’ typically flatter growth trajectory while maintaining a subtle upward sweep. This strategic curl graduation prevents conflicting tension, ensuring extensions enhance, rather than fight, the natural lash structure for a seamless, weightless flick.
-
Ensuring cat eye is a suitable style for your client based on their eye shape and facial features.
Determining suitability requires careful analysis of eye shape and facial proportions. This style's signature winged lift corrects and harmonizes best with almond eyes, round eyes, or close-set eyes. Clients with hooded or downward-turned eyes may want to avoid cat-eye and choose a more flattering style. Also, be sure to assess facial balance by considering features like brow bone prominence (which can shadow hooded eyes). Always look at your clients and map your set while they’re sitting up and their eyes are open; this will give the most accurate view and final result.
STEP-BY-STEP: CREATING THE PERFECT CAT EYE LASH MAP
Pre-Mapping Prep
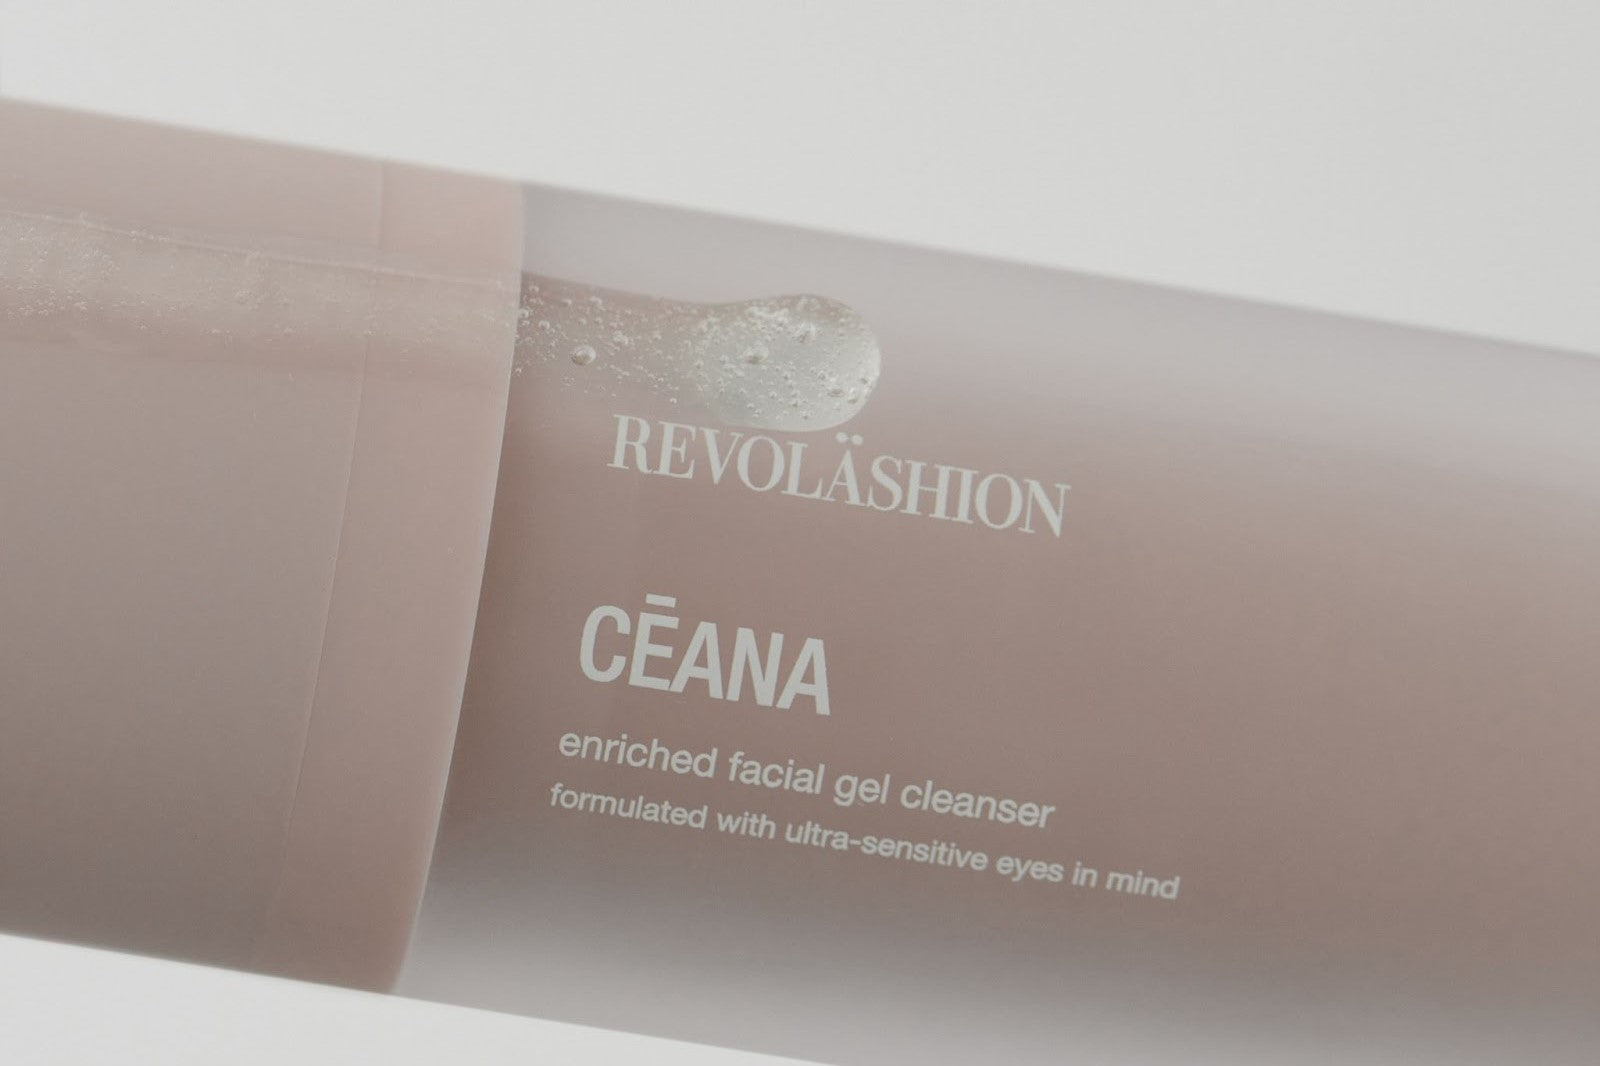
Begin with a thorough lash bath using Cēana, this will ensure a clean canvas for mapping.
Mapping for Cat Eye (Client Sitting Upright)
With the client seated and eyes open in a natural resting position, mark key points on the lid with eyeliner:
-
Inner edge of the iris
-
Directly over the pupil
-
Outer edge of the iris
-
Where the white of the eye begins and ends

Assess facial symmetry
Note any differences between the eyes (e.g., one eye is higher than the other)
Mapping Transfer
After applying and positioning your under-eye pads:
-
Mirror your lid markings onto the pad's using a fine-tip sharpie marker
-
Create areas for different lengths between the markings
-
Record dominant growth patterns (straight vs. curled)
-
Design the cat-eye by assigning lengths and curls. Starting with short lengths in the inner corner (ideally between 6mm-8mm), gradually increasing the length as you move towards the outer edge of the iris which is where you’ll set your longest length and most pronounced curl
Application
As usual, to ensure your set is balanced, alternate eye to eye when applying extensions in each section. It's not uncommon for one eye to have more natural lashes than the other, doing so will keep the eyes even and avoid “stickies”
Visually cross-check symmetry through all mapping zones using your Rëflekt lash mirror.
Remember: you can always leave the last few natural lashes bare without an extension if it best compliments the final look of the set.
FAQS: YOUR CAT EYE QUESTIONS ANSWERED
Q: Can I use one curl for my cat eye sets?
A: We encourage you to mix curls, especially for cat eye sets. Start with a low impact curl such as B-curl or C-curl in the inner corner of the eye and transition to a more pronounced curl to really lift the eye and give that famous cat eye flick, towards the outer corner of the eye.
Q: The longer, the better for cat eye?
A: Contrary to popular belief, we encourage lash artists to use shorter lengths when styling a cat eye set. Naturally, our lashes taper down in length towards the outer corner of our eyes. Using a long/heavy extension on these natural lashes will cause drooping, poor retention, and possible damage.
Q: Is layering important for cat eye?
A: Absolutely, you’ll want to implement the traditional three layer technique - using three different lengths in each section. By doing so you’ll create a seamless transition that places an emphasis on the outer corners to create a more pronounced cat eye.
Q: Would downturned eyes benefit from cat eye lash extensions?
A: Adding heavy/long extensions at the outer corners can exaggerate the natural downward tilt, creating the dreaded drooping effect. If you decide on a cat eye for a client with this eye shape, be sure to stick with shorter lengths and a more upwards curl to really lift the outer corner of the clients eyes.
Feeling more confident about cat eye sets after reading this blog?
Continue to expand your knowledge by reading one of our latest must-reads: Classic Lash Extensions: Everything You Need to Know