
Classic Lash Extensions: Everything You Need To Know
In this blog, we’ll cover everything you need to know—from what classic lashes are and how they differ from other styles to their application process, maintenance tips, and expert advice on keeping them looking flawless.
Classic lash extensions have been a beauty staple for years, offering a timeless, natural-looking enhancement to your eyes. As a lash artist, mastering classic lashes is the first step to building a strong foundation in your craft. Whether you're refining your technique or just starting your journey, understanding the fundamentals of classic lash extensions will set you up for long-term success.
Whether you want to boost your confidence with effortless beauty or simply explore the world of lash extensions, this blog has you covered. Let’s get into it!
What are Classic Lashes?
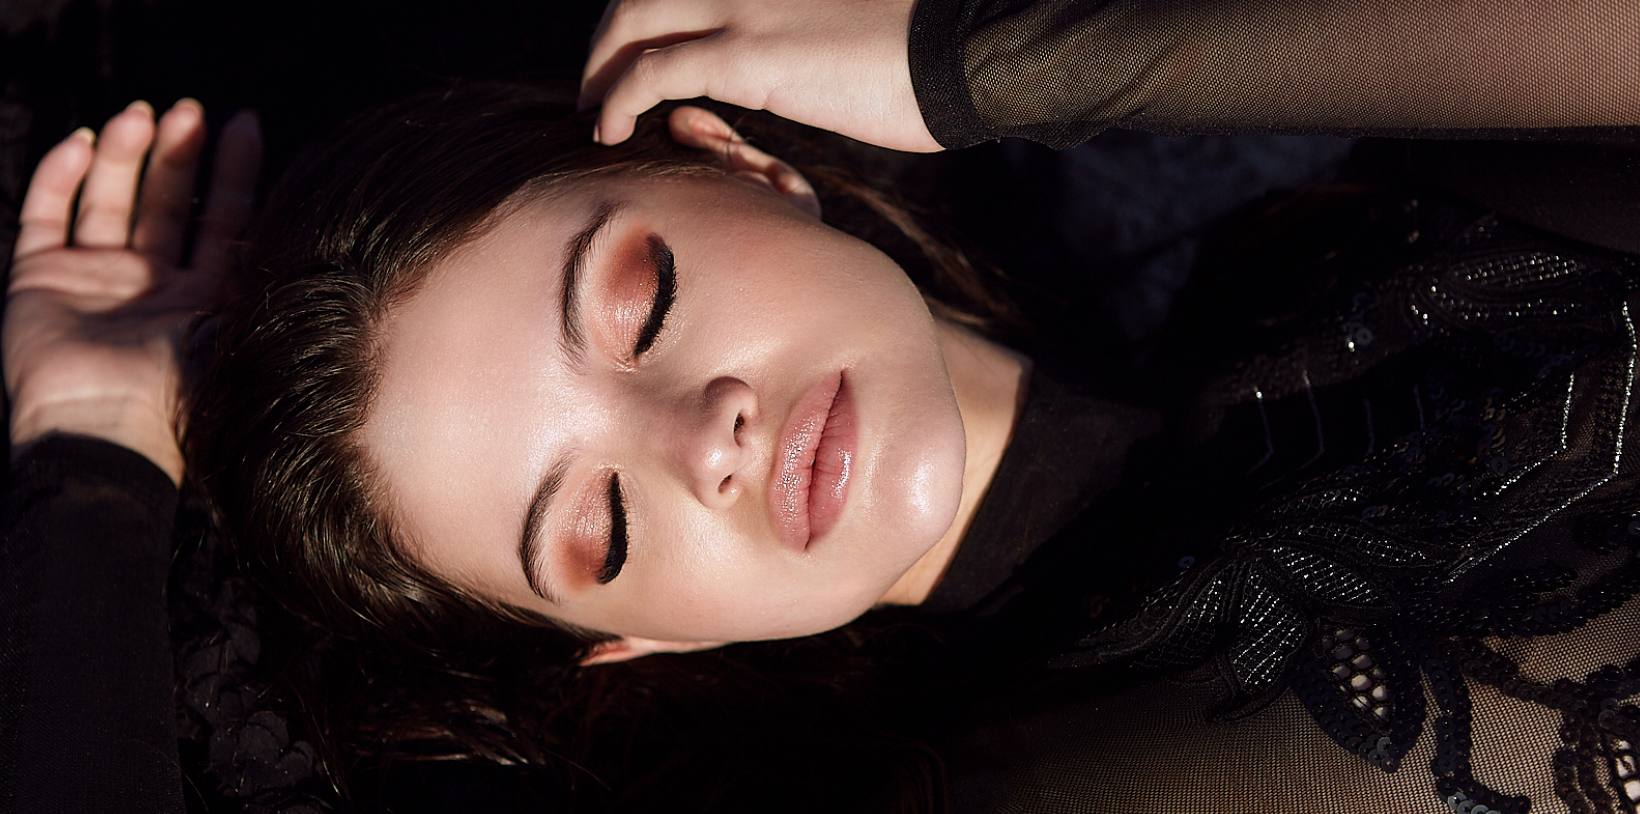
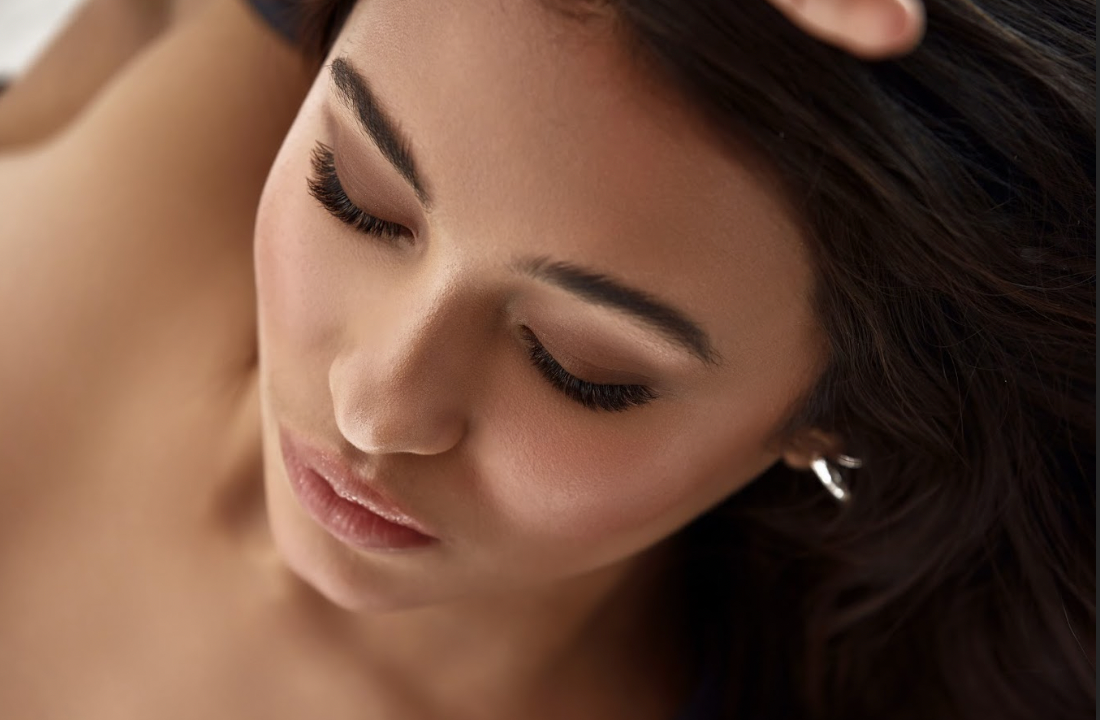
Classic lash extensions involve the application of a single extension to each natural lash. This technique enhances your client's lashes with added length and a subtle increase in volume, creating a beautifully polished appearance. Think almost like a mascara effect but better.

Diameters of Classic Lashes
Classic lash extensions come in various diameters to suit different natural lash types and desired effects. The most common diameters range from 0.10mm to 0.20mm. Thinner diameters like 0.10mm or 0.12mm are ideal for individuals with weaker or finer natural lashes, providing a soft and lightweight enhancement. Medium diameters like 0.15mm are the most popular, offering a balanced, natural look suitable for most clients. Thicker diameters like 0.18mm or 0.20mm create a more defined, mascara-like effect but should be used on strong, healthy natural lashes to prevent strain or damage. Selecting the right diameter is important to maintaining the health of your natural lashes while achieving the desired look. So what is the best diameter? The most common diameters are 0.12, 0.15, and 0.18.
To learn more about lash diameters, check out Your Guide To Lash Diameters
Classic Lash Application
Set up your clean workspace with all the necessary supplies:
Applying classic lashes is a lot more detailed than you think. After cleansing and applying eye patches to your client’s bottom lashes, you’ll be able to assess what diameter of classic lash would suit them best. After deciding what is best for their natural lash health, decide what curl and length would suit your client’s eye shape. This can be done by paying attention to how much lid space your client has. A good rule of thumb to remember is not to go more than 2-3mm longer than the natural lash. Inner corner lashes should be between 6-8mm to prevent the extensions causing irritation.
The other factor you have to consider is natural lash health. Are the lashes healthy enough to hold a long extension at 0.15? If not, it’s best to be on the safer side and go shorter not to risk retention issues.

Picking Up a Classic Lash Extension
Step one: Use your omnigrip lash tweezer and grab the extension from the middle for good control. Too low would result in the adhesive on your tweezers, and too high would cause the lash to fall out of the tweezer's grip.
Step two: Coat 2mm of the extension in Omnia or Kaio adhesive. Make sure the environment is optimal for the adhesive you’re using. Revoläshion’s recommended environment is 69°F - 75°F and 25 - 60% humidity for both Omnia and Kaio adhesives.
Be careful not to dip your lash extension too fast or too slow. You want to get just the right amount of adhesive on your extension. Dipping too fast in the adhesive results in a few little bubbles on the extension, which means it’s too much. Too much adhesive on the extension does not mean better retention. It creates more damage to the natural lash and is more susceptible to stickies. Using too little lash adhesive would result in the extensions falling off prematurely.
Attaching Classic Lashes
Ahhh, the best part. When looking at your client's natural growth pattern, attachment differs. If your client's lashes point straight down, use a wünderstrip to pull the lashes up and allow for a better attachment angle. Use an isolation lash tweezer to focus on one lash at a time. Apply the lash extensions straight rather than following the curl of the natural lashes. Applying the extensions in the direction of the natural lash is what makes the tips of the extensions cross over one another and look messy. Pay attention to the distance you are applying from the lash line. Placing the lash 0.5mm-1mm away from the lash line is how far the extension should be to avoid irritation and a messy set. A lash that is placed too far from the lash line can grow out a little wonky.
How To Create A Fuller Classic Lash Set
You want to aim for 100% coverage, especially with a classic lash set, but if a client has a lot of baby lashes, taking down the diameter and length using a 0.10 or even a 0.07 lash will help achieve full coverage. Checking for stickies at the end of each set using a lash mirror will also help see the fullness and see if you missed any lashes.
The creativity doesn’t stop at classic lashes. There are many different ways you can customize a classic lash set using different curls and diameters. A wispy lash set can be created using the same diameter among different lengths to give that wispy effect or by using 0.07 spikes among 0.15 classic lashes.


What Are The Different Lash Curls?
As stated, finding the right curl and length is important to your classic lash set. Knowing the basics of different curls and what they provide for your client will assist you in what is best to give your client.
-
C Curl: One of the most popular curls, C curls provide significant lift and are suitable for most eye shapes. This curl is particularly flattering and offers a well-defined look.
-
D Curl: A more dramatic curl, D curls are striking and perfect for special occasions. They suit clients who desire a bold, glamorous look, but it's essential to ensure the natural lashes can support this choice.
-
CC Curl: is more in between C and D curls. This is a good introduction curl for clients new to lashes.
-
B Curl: B curls add more lift and can make the eyes appear larger. They're great for clients looking for a natural yet noticeable enhancement.
-
L Curl: L curls have a flat base and a gradual but extreme upward lift towards the end, creating a unique L shape. These lashes are corner-shaped, without any curve to the fiber. This straightening aspect of this curl visually maximizes the gaze while adding a touch of sultriness to the set.
-
L+: L+ curls are extensions of the L curl, offering a similar lifting effect but one that is softer due to the curve that is absent in the standard L curl. This curl combines L and CC curls into one. It has a similar base to the L with a more pronounced curve after the corner-shaped bend.
-
M Curl: M curls are a combination of L and L+ curls, providing a medium level of curvature. It combines the flat base and lack of curve of the L curl,

Conclusion
A classic eyelash extension is a fantastic choice for clients looking to enhance their lashes with added length and beautifully defined curls, all while skipping the hassle of daily mascara application! It’s important to remember that the extensions should be no more than 2mm longer than the natural lashes to ensure a harmonious and flattering look. After application, educate your client on the importance of aftercare and regular infills to maintain the health of their natural lashes. Happy lashing!
Thinking About Becoming a Lash Artist in 2025? Here’s What I’d Do First! Starting fresh in the lash industry can feel overwhelming, but with the right approach, you can set yourself up for success from day one. If I were starting as a new lash artist in 2025, here’s exactly what I’d do to build a thriving business fast. Read If I Was A New Lash In 2025 What Would I Do for more information!
